Cycling is a physically demanding sport that requires optimal performance and a quick recovery to excel. In recent years, compression socks have gained popularity among cyclists due to their purported benefits in enhancing performance and aiding recovery. Several efforts, including appropriate gear, go into preventing horrific crashes in pro cycling.
Designed to exert graduated pressure on the lower legs, compression socks are believed to improve blood flow, reduce sore muscles, and minimize the risk of injuries.
Before exploring where to buy compression socks for cycling, let’s check out how it works. So, this post will …
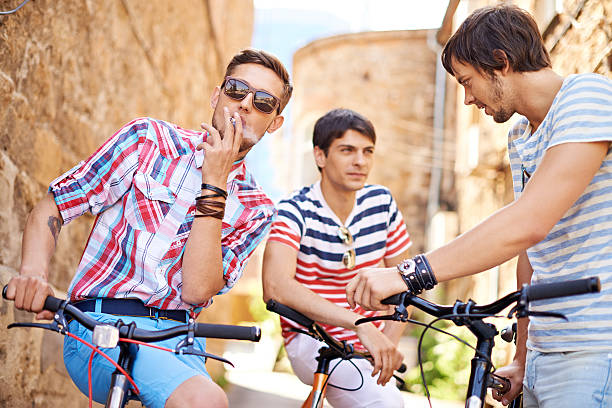
Most people don’t think of athletes as smokers. In fact, professional athletes are encouraged to avoid engaging in this habit.
However, experts say that vaping is a healthier alternative to smoking. Because vaping is such a new phenomenon, the majority of the hazards are unclear.
So, what effects does vaping have on one’s athletic performance? Let’s find out.
Vaping’s Beneficial Effects on Athletic Efficiency
According to some researchers, vaping is around 95% less dangerous than smoking cigarettes. Furthermore, several researchers have suggested that vaping has a good impact on athletic performance. The following are some of the benefits of vaping on athletic performance.
Improved Cardiovascular Function
Any athlete who wishes to vape should exercise prudence. However, when used correctly, vaping can help an athlete improve their cardio efficiency. Vaping is thought to boost an athlete’s capacity to run greater distances.
In …
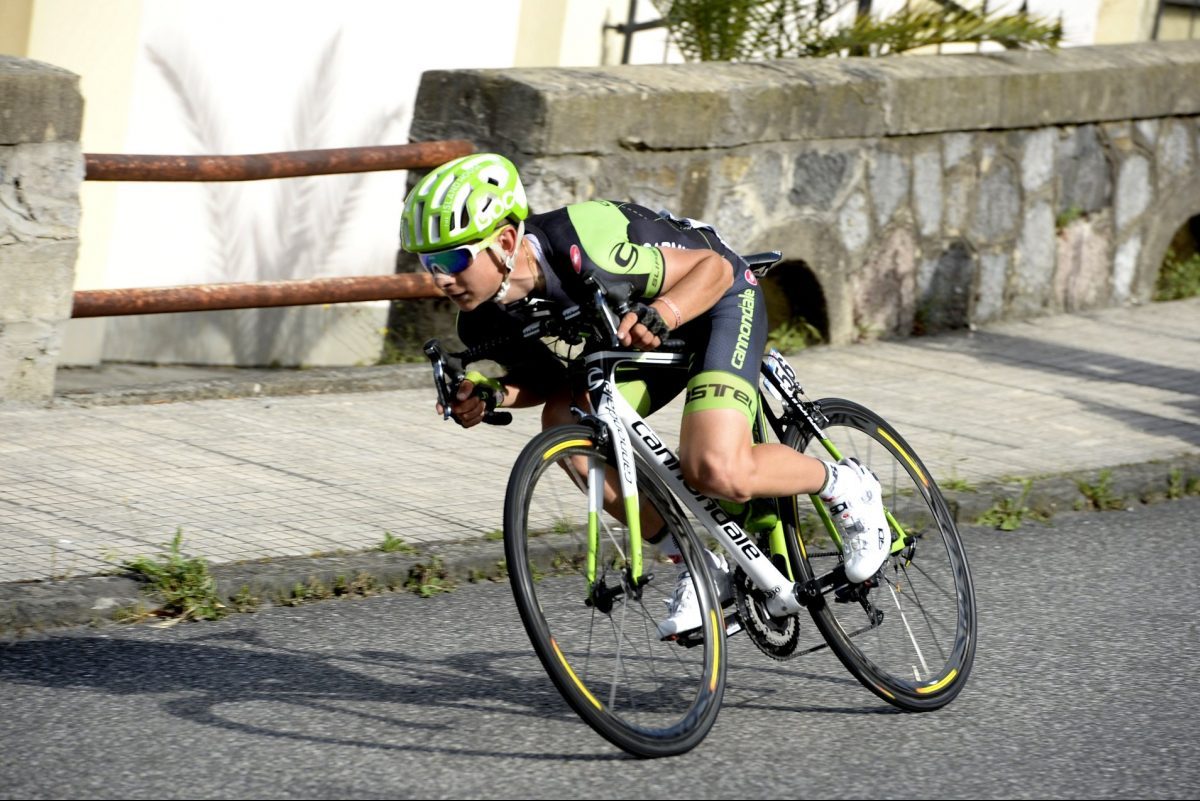
For pro cyclists, aerodynamics is the cheat code to winning races. Aero bikes, wheels, helmets, and even aero bike computers have all been invented to help pro-cyclists.
Does this aero cheat code work? Does aerodynamics affect the speed of a bike? These are some of the questions many people ask, and this piece will help you understand the basics of aerodynamics.
What is Aerodynamics?
When riding a bike, you try to pierce through the air, but the air is putting up a fight. This is what is called air resistance. It is the force a cyclist fights against to achieve the desired speed.
As cyclists reach over 30 mph, they fight to overcome the resistance and, in the process, encounter a drag which is known as the aerodynamic drag.
Aerodynamics, therefore, is the study of the properties of moving air and the interaction with solid objects pushing through it.
As cyclists ride the bike, the body interacts with two types of drags as it moves through the air.
Types of …

On September 19, Christopher Blevins became the first American to win a world cup cross country elite men’s race since Tinker Juarez in 1994. It was a celebration galore for the trinity racing team in snowshoe for this historic win that was hard to come by for over 20 years.
The 23-year-old propelled himself to the finish line after attacking the last climb of the Olympic country course overtaking Nino Schurter, a 9-time world champion. Vlad Dascalu came in second, with Ondrej Cink from the Czech finishing third. A flat front tire held Schurter to a fourth-place finish.
Belvins is also the current world champion in the short track racing after winning the August 26th UCI Mountain Bike World Championships race at Val di Sole, Italy. The Snowshoe short track race was a little challenging for Blevins after finishing fourth three seconds behind Victor Koretzky, who won the race.
Belvins is a product of the Durango Devo youth cycling development program. Although this program is not specific to racing, it has …
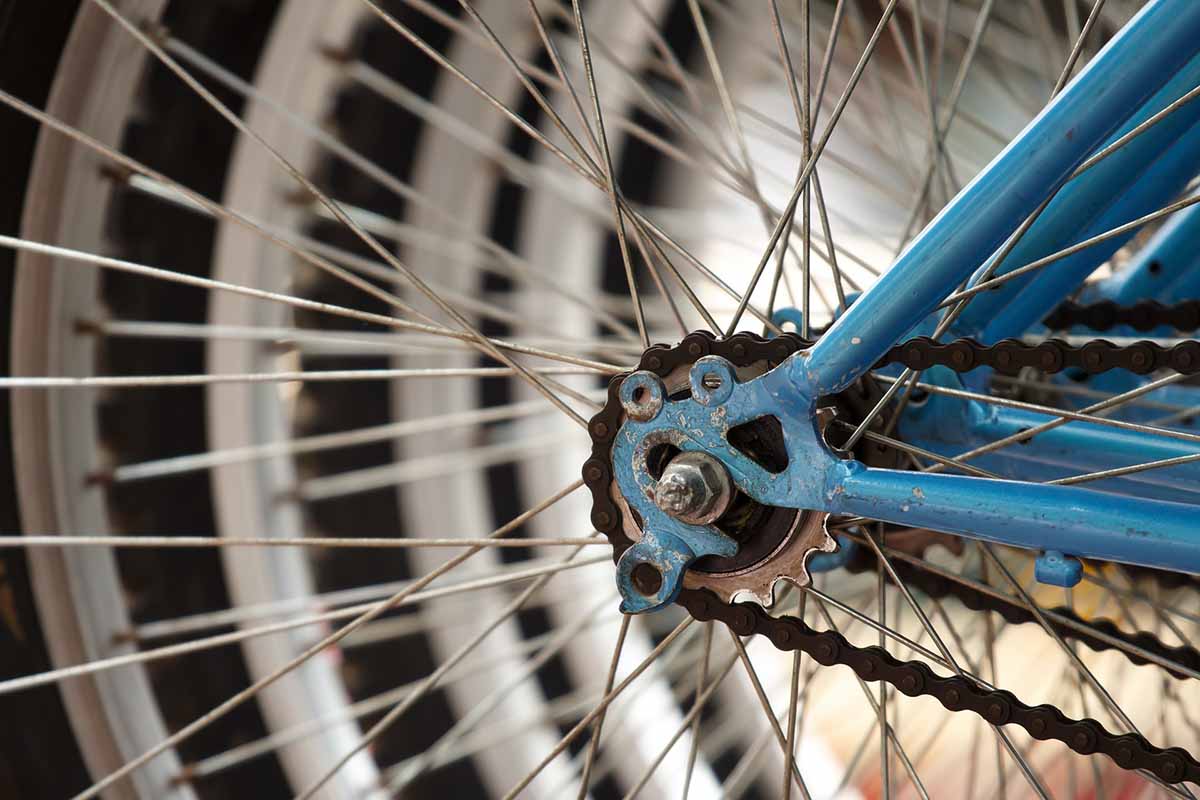
The bike chain is one of the components of a bike that needs replacing more regularly. This is because it undergoes a lot of movement and stress, making it wear out faster.
Over time, the internal bushings of the chain links slowly lengthen as they wear out. This loosens the chain, putting a lot of pressure on the cassette cogs and the chain teeth. This chain of events causes the bike chain to wear faster. To avoid wearing out your chain system, replace the chain every 2000 kilometers. However, the frequency of replacement depends on the rider’s riding style.
How to Fix Your Bike Chain
Find the proper chain. Make sure that you purchase the correct width of the bike chain.
Find the right tools. You will need to have chain replacement tools. This includes the chain breaker or chain master link pliers. A universal chain tool is also a great tool to have for your chain replacement toolbox.
Use master link pliers to undo the master link chain type. Use the chain breaker to undo the …