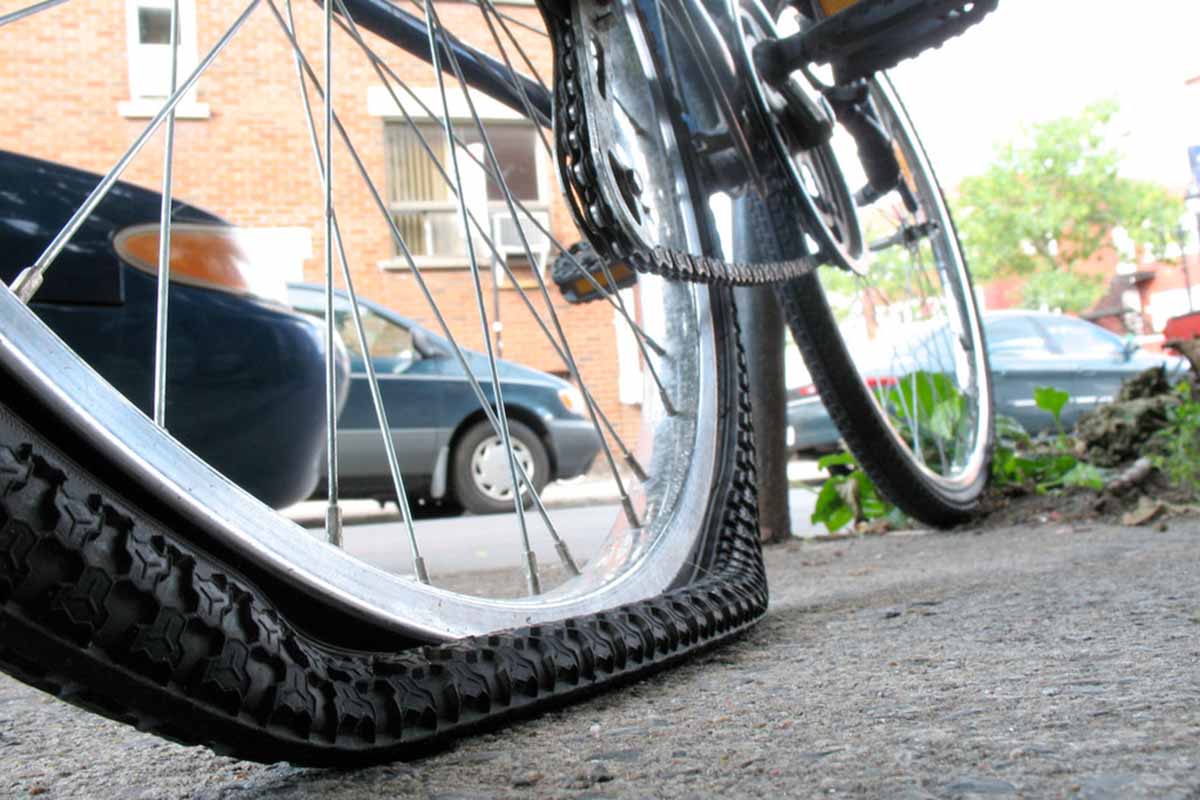
Whether you take your bike on smooth pavements, rocky tracks, rough gravel, or earth trails, you will likely deal with a flat. However, this should not be a problem if you know how to fix a flat and change a tire.
Below is a step-by-step guide on how to change a bike tire and fix a flat.
Tools Needed:
Before you begin any fixing, you should have in hand several essential tools. This includes tire levers, a spare tube, an air pump, and patch kits or tire plugs.
Steps:
1. Remove the Tire
Place your bike in an upright position shift the drive train to the highest gear if you are dealing with a rear-wheel flat. Also, loosen the brakes if they are rim brakes. Stand on the non-drive side ad unthread the thru-axle and remove the wheel. Use tire levers to unseat the tire from the rim.
2. Identify the Problem
Remove the tube and look for the culprit of the flat. You can inflate the tube to find the leak. Check …
It is inevitable to experience wear out on different parts of your bike. This is no exception for the shifter cables, which wear out after several kilometers of cycling.
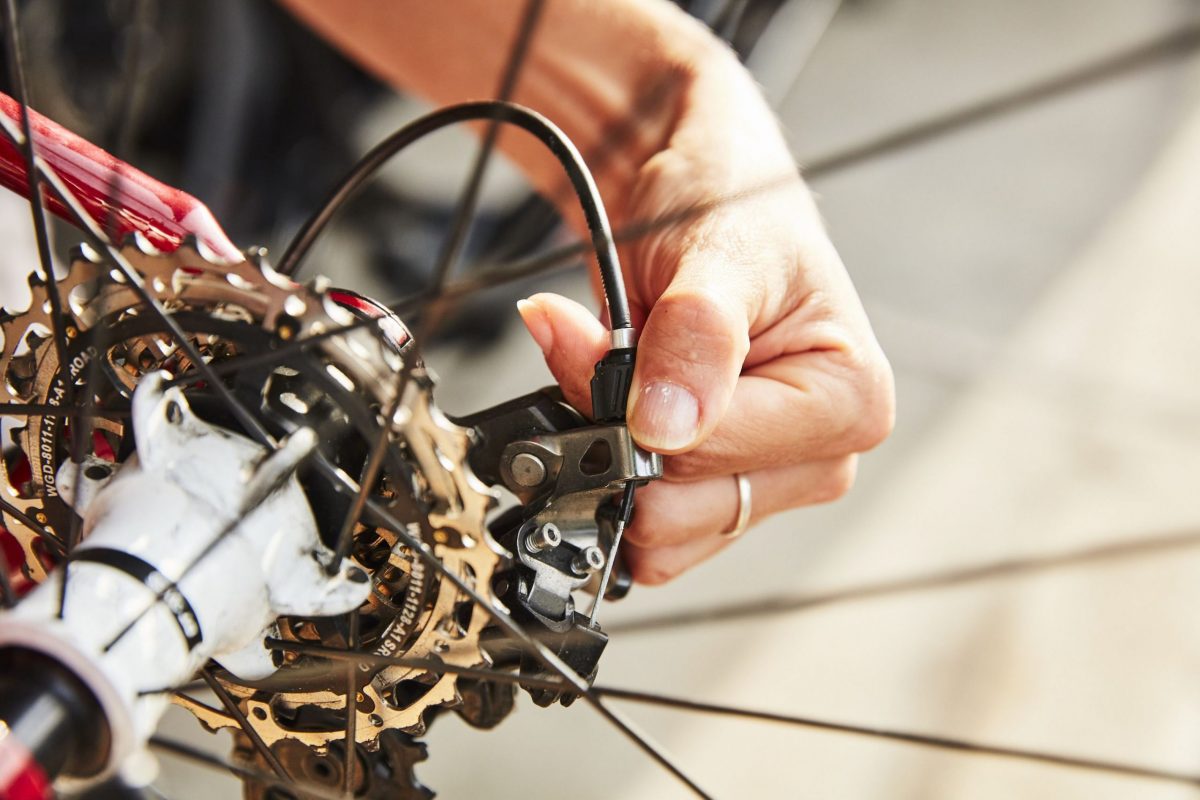
Worn-out shifter cables are a nuisance and hinder smooth-riding. The cables get stuck on the housings and can also get caught up on other parts causing avoidable damage. The shifting becomes a nightmare, and you are never going to catch up if you are racing.
Therefore, to avoid unnecessary shifter cable troubles, follow these steps to replace your worn-out shifter cables.
Get the Right tools
Before any replacement, you will need tools to help you get the job done efficiently and quickly. For this replacement, you will need; the new cables with housing, inner wires, ferrules, and end caps; hex wrenches, diagonal cutters, poker or small pick, and cable housing cutters.
Steps for Replacement
Shift the chain onto the smallest cogs in the front and back.
To access the shifter…
In the last decade, online shops have replaced the brick and mortar shops. Many people are now ordering their purchases from online shops instead of buying from physical shops.
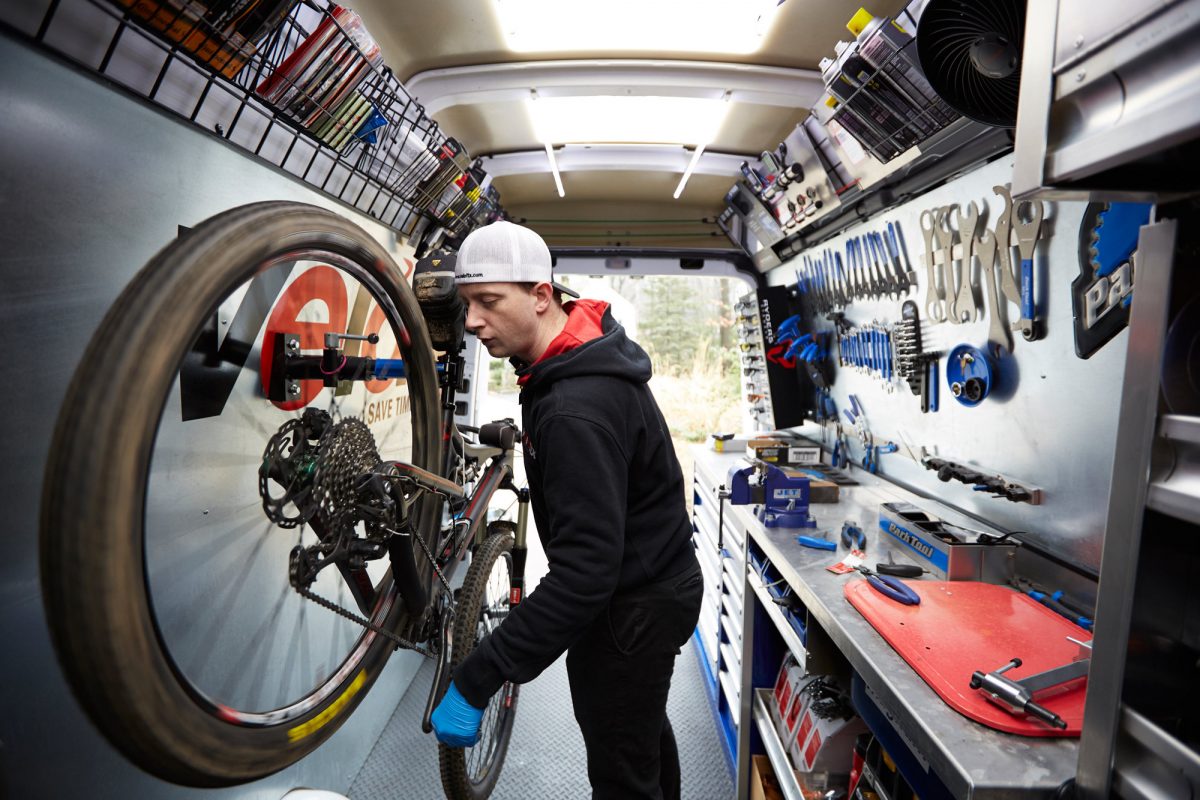
Bikers have also taken up online shopping to buy their bikes. However, the bikes come in parts, and you are left with assembling the parts.
So how do you assemble a bike? Here is the ultimate guide.
Step 1: Find the Right Tools
Before you begin to assemble, you will need several essential tools. These include a repair stand, wheel truing stand, cone wrenches, wire cutters, a pedal wrench, a set of Allen keys, screwdrivers, air pump, grease, and chain oil.
Step 2: Unpacking
Pull everything out of the packaging box. Next, you need to grease the seat tube and the seat post bolt thread. Afterward, ensure that you tighten the bolts securely before clamping the Seatpost in the repair stand.
Using the wire cutters, snip the zip ties to remove the front wheel. You can recycle the …
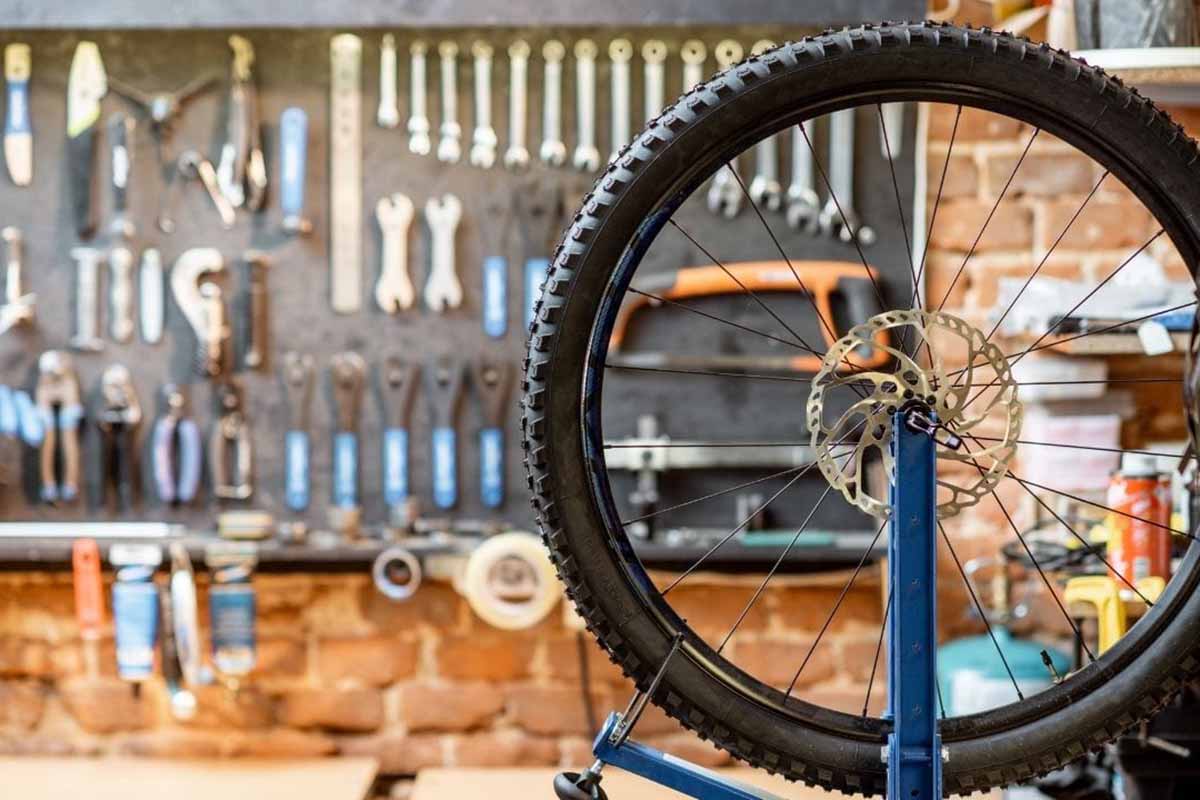
To keep your bike at optimal performance levels, you must give it some TLC. This means cleaning, tightening, lubricating, fixing, and repairing. To ensure this, you need the right repair tools in your garage.
This article is an overview of the types of tools that you need for DIY minor repairs and essential maintenance.
Cleaning Agents
A clean bike functions better than one carrying a load of dirt. It is always a good idea to clean your bike regularly, and this is where cleaning supplies and rags come in. The suitable cleaning agents will remove dirt from your chain and sprockets.
Repair Stand
A repair stand is probably the most crucial tool for a bike repair shop/garage. It helps you to clump down your bike when doing repairs or adjustments. There are many brands and types of repair stand in the market, but you can also build your own stand.
Screwdrivers
Screwdrivers are essential tools for …
Read More


